The Best Chocolate Chip Cookies

I don’t believe I’m over stating it when I say these are the best chocolate chip cookies ever.

I affectionately call these “Tessa’s cookies” because the recipe comes from a former coworker named Tessa. She brought these to a work potluck once and then she was required to bring them to every following potluck. And then she gave me the recipe and I’m hooked.

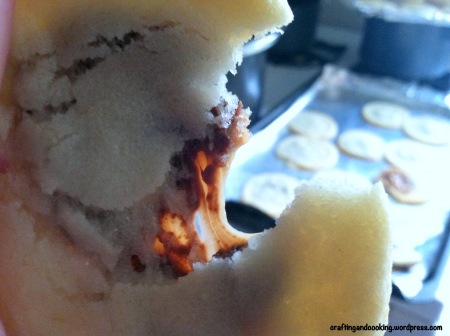
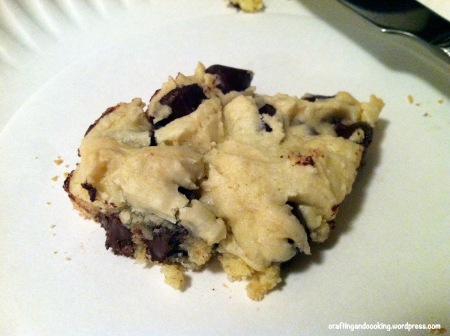
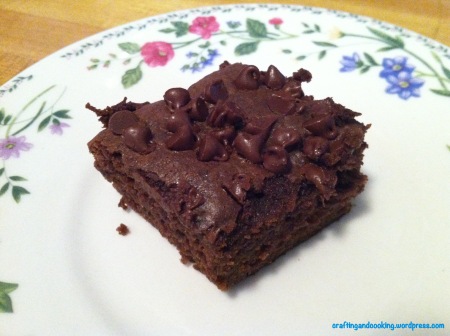
They are the perfect mix of salty and sweet, jam-packed with chocolate chips. Plus they are firm around the edges and then soft and gooey in the middle. What more could you ask for from a chocolate chip cookie?

The Best Chocolate Chip Cookies | Craftingandcooking.wordpress.com

I’m not even going to give you the ingredient list for a single batch. No. I’m just going to double it outright. This makes a little more than 4 dozen cookies.
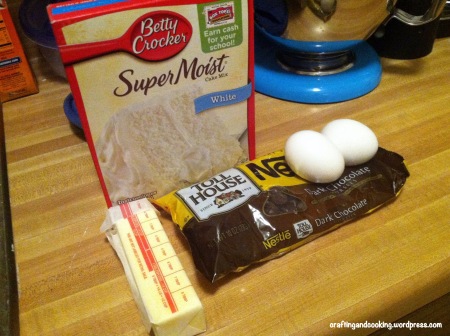
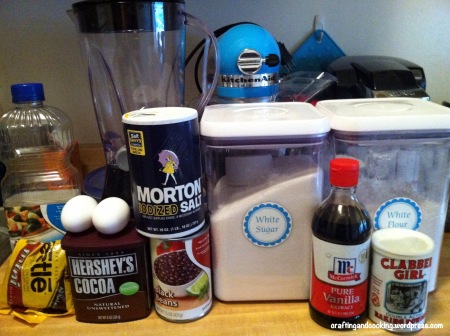
Ingredients:
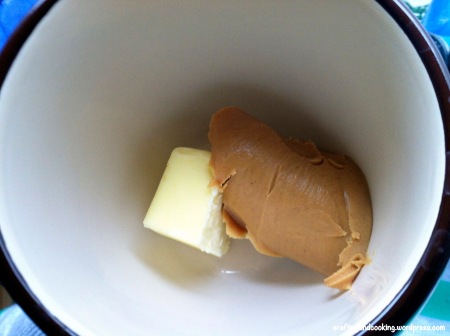
2/3 cup butter, softened
2/3 cup shortening (Crisco sticks)
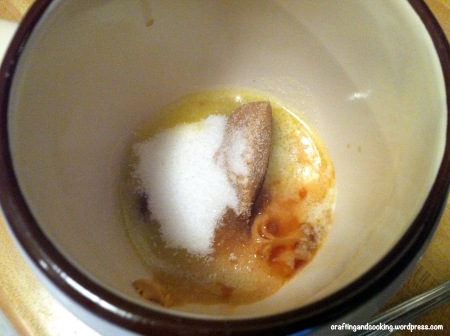
1 cup packed brown sugar
1 cup granulated sugar
2 teaspoons vanilla
2 eggs
3 cups flour
2 teaspoons baking soda
2 scant teaspoons salt
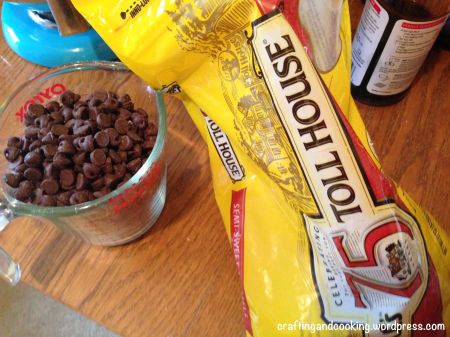
A little over 4 cups of chocolate chips
Coarse Kosher salt

The Best Chocolate Chip Cookies | Craftingandcooking.wordpress.com

Waiting for the butter to soften is the hardest part of this recipe. I usually cut it into smaller pieces and let it sit on my counter for awhile.

The Best Chocolate Chip Cookies | Craftingandcooking.wordpress.com

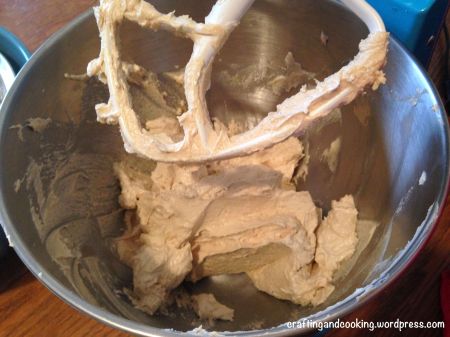
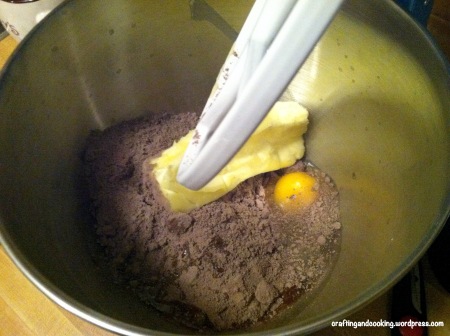
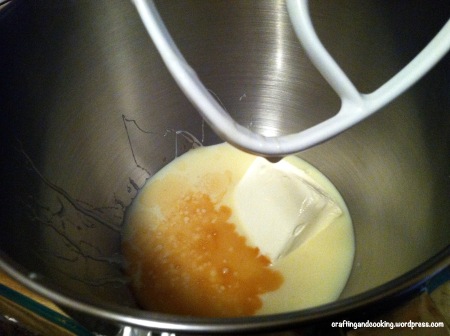
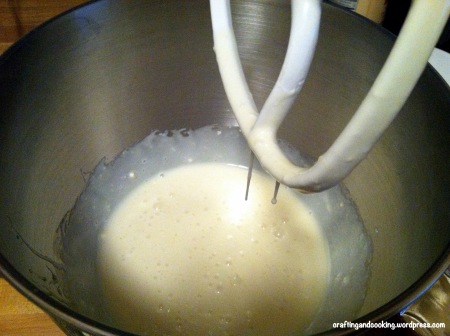
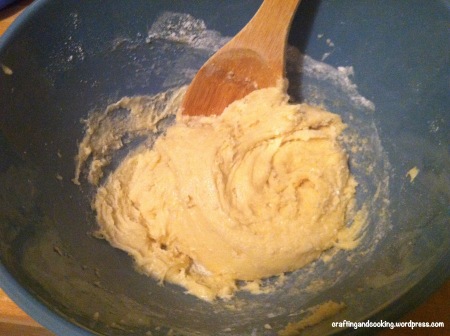
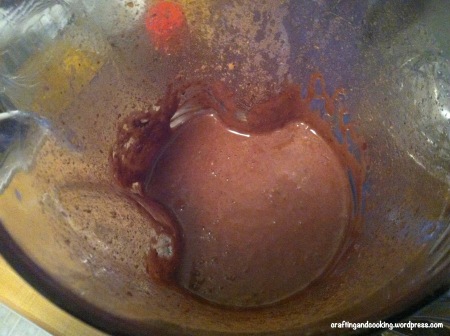
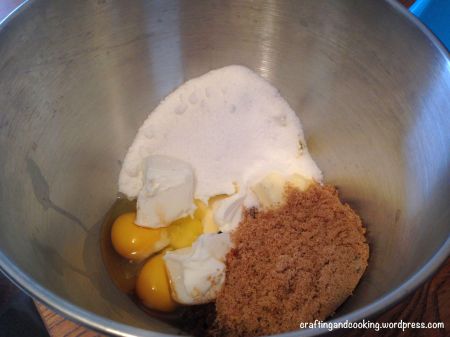
Preheat oven to 350 degrees. While the oven is warming up, cream together the butter, shortening, sugars, vanilla and egg until fluffy.

The Best Chocolate Chip Cookies | Craftingandcooking.wordpress.com

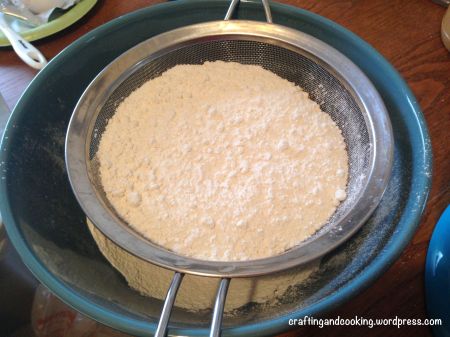
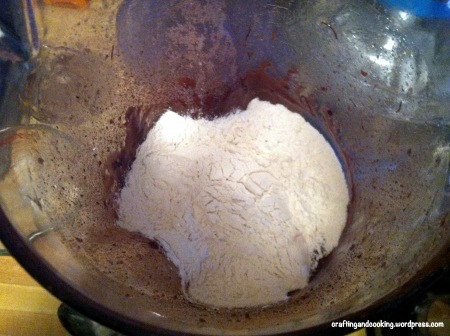
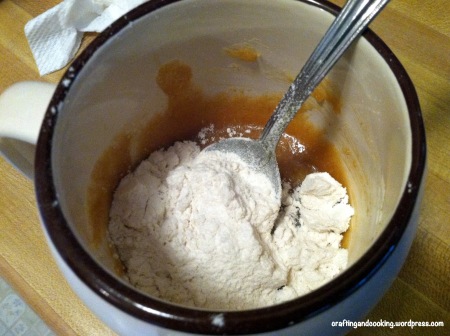
Sift together the flour, baking soda and salt (not the course salt).

The Best Chocolate Chip Cookies | Craftingandcooking.wordpress.com

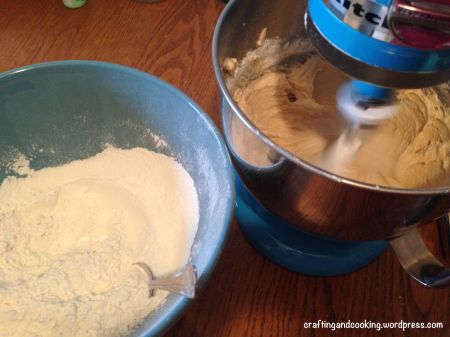
Add sifted dry ingredients and mix until combined. I do them in shifts. A couple spoonfuls at a time.

The Best Chocolate Chip Cookies | Craftingandcooking.wordpress.com


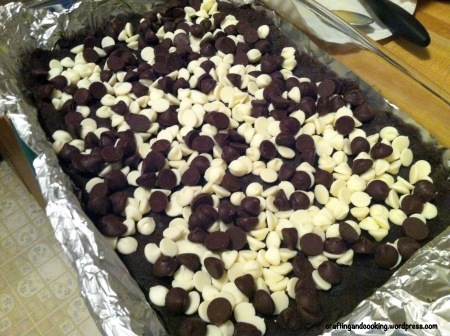
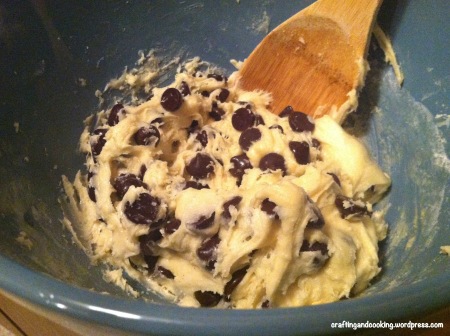
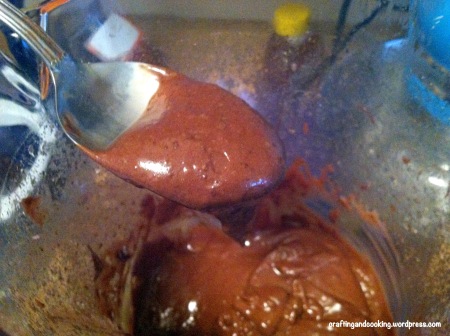
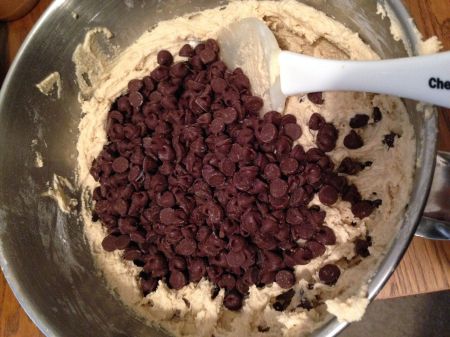
Then you are going to need to fold in the chocolate chips. Do this by hand with a spatula and not with your mixer.

The Best Chocolate Chip Cookies | Craftingandcooking.wordpress.com

I bought the industrial sized back of chocolate chips from Costco. It was worth it.

The Best Chocolate Chip Cookies | Craftingandcooking.wordpress.com

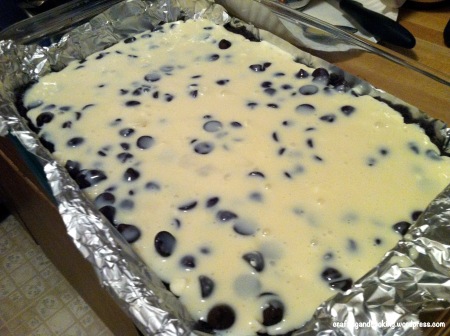
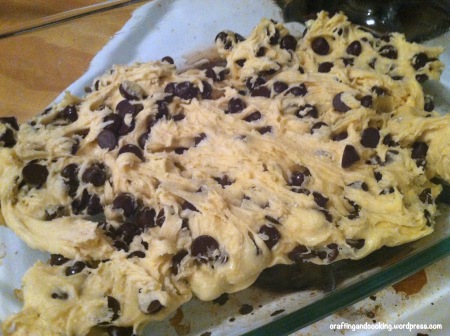
Spread the chocolate chips throughout the mixture until all combine.

The Best Chocolate Chip Cookies | Craftingandcooking.wordpress.com

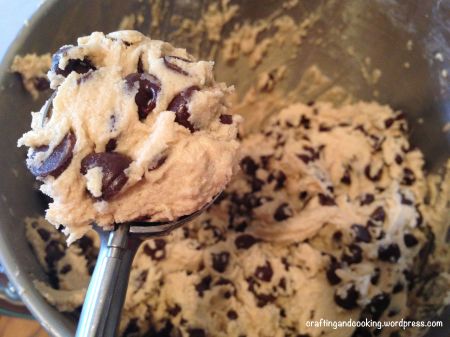
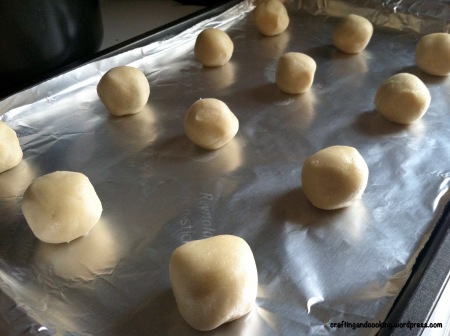
I use a tablespoon scoop so all the cookies are roughly the same shape and size.

The Best Chocolate Chip Cookies | Craftingandcooking.wordpress.com

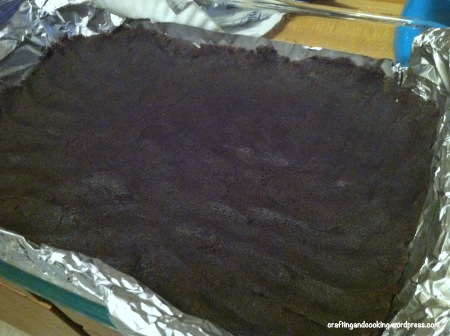
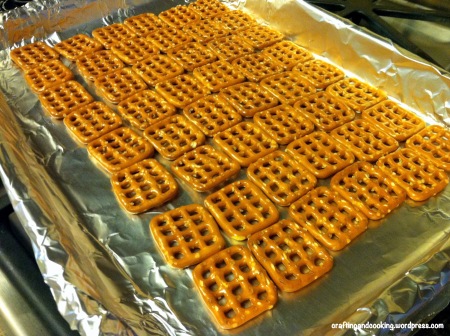
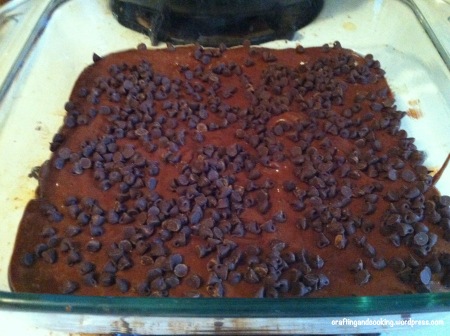
Drop onto a greased sheet or nonstick foil. Do them all at once. I end up with four pans worth. You aren’t going to remove the cookies from the pans until they set up.

The Best Chocolate Chip Cookies | Craftingandcooking.wordpress.com

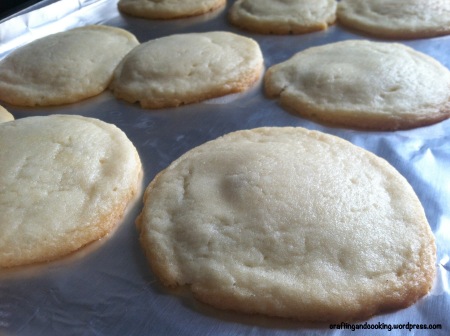
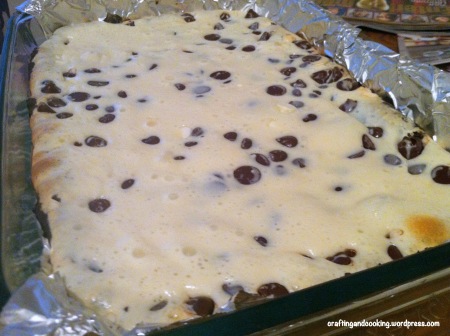
Sprinkle with the coarse salt. Then bake for 6-10 minutes. I’ve found the perfect time for me is 8 minutes.

The Best Chocolate Chip Cookies | Craftingandcooking.wordpress.com

Leave the cookies on the pan until they cool down! They set up on the pan and become firm yet soft.

Rolo-stuffed sugar cookies

I’ve wanted to try stuffing cookie dough with something else for awhile now. A trip to the grocery store this weekend provided an excuse to try. The tube of cookie dough was 50 percent off.

rolo-stuffed sugar cookies 1

I’m sold on the awesomeness. Look at that! Yum.

rolo-stuffed sugar cookies 7

Two ingredients: sugar cookie dough and Rolos.

rolo-stuffed sugar cookies 8

I unwrapped two dozen candies (photo taken before I was done in case you count the number in the bowl).

rolo-stuffed sugar cookies 6

Slice your dough into even pieces. About half an inch thick is good. Preheat your oven to 350 degrees.

rolo-stuffed sugar cookies 5

Take one slice of cookie dough and one candy. Roll up the Rolo in the sugar cookie dough.

rolo-stuffed sugar cookies 4

Space out the cookies on a large baking sheet. Stick it in the oven for about 11 minutes.

rolo-stuffed sugar cookies 3

After cooking time is done, let the cookies sit until they are pretty cool on the baking sheet. Don’t try to move them or they will smush or break.

rolo-stuffed sugar cookies 2
Look at how gooey that is! So good.


Honey Beer Bread

I am not a fan of beer. I just don’t get it. The taste has just never appealed to me. However, beer bread? That’s something I can get behind. I never stock beer in my fridge, but I usually can snag a leftover bottle from a family party. This is the second time I’ve made this recipe (originally from gimme some oven) and it’s super tasty and filling.

Plus, it’s a no knead, no rise, no yeast dough. It takes no time to make!

Honey Beer Bread 6

Doesn’t that look delish? It’s a bread that can be eaten as a side to a savory meal or sweetened up for breakfast or a snack.

Honey Beer Bread 1

Ingredients:
– a 12 oz. bottle of beer
– 2 tablespoons of honey
– 3 cups flour
– 1 teaspoon salt
– 2 tablespoons sugar
– 1 tablespoon baking powder
– 4 tablespoons melted butter

Start by preheating the oven to 350 degrees and greasing a loaf pan. Then, whisk together your dry ingredients (flour, salt, sugar and baking powder).

Honey Beer Bread 2

Stir in the honey and the beer to make a dough ball.

Honey Beer Bread 3

Pour half of the melted butter into the bottom of the loaf pan.

Honey Beer Bread 4

Spread the dough into the loaf pan.

Honey Beer Bread 5

Pour the rest of the melted butter on top of the dough. Now, I put the loaf pan onto a baking sheet and then into the oven for about 50 minutes or until a knife stuck into the middle of the loaf comes out clean. Let it cool slightly then serve!

Honey Beer Bread 7

Ooo some melted butter and a drizzle of honey? So good. And check out how deliciously golden the bottom of the bread came out.

Chocolate, cream cheese cake bars

I brought the pan of these (ok… I hoarded about three for myself) to work. They got rave reviews, although I had a hard time trying to figure out what to call them. I kept saying dessert bars. I got the recipe from Averie Cooks and they were originally called “White and Dark Chocolate Cream Cheese Chocolate Cake Bars.” A mouthful! And I mean… these are a mouthful too. A deliciously, gooey and amazing mouthful.

White and Dark Chocolate Cream Cheese Chocolate Cake Bars 8

Ingredients:

For the cake layer:
– 1 box of chocolate cake mix
– 1 stick (1/2 cup) of softened butter
– 1 egg
– 1 teaspoon vanilla
– 1-2 tablespoons water

For the top layers
– white chocolate chips
– semi-sweet, milk or dark chocolate chips (I used dark)
– 1 can of sweetened condensed milk
– 4 oz. of cream cheese, softened
– 1/2 teaspoon of vanilla

White and Dark Chocolate Cream Cheese Chocolate Cake Bars 1

Before you start this, line a 9×13 in. glass pan with aluminum foil. Spray the foil with cooking spray or wipe it down with vegetable oil. Also preheat the oven to 350 degrees.

In your mixer, add in the box of cake mix, the egg, the butter and vanilla. It’ll be a thick batter. I added 2 tablespoons of water so that all the batter/dry ingredient would be incorporated.

White and Dark Chocolate Cream Cheese Chocolate Cake Bars 2

Take the dough out of the mixer and use your hands to flatten it out in the pan. Try to make it as even across the entire pan as possible. You’ll also need to wash your hands at this point. You’ll be covered in cake dough.

White and Dark Chocolate Cream Cheese Chocolate Cake Bars 3

In the mixer, empty the can of condensed milk and put in your cream cheese and vanilla. Start mixing.

White and Dark Chocolate Cream Cheese Chocolate Cake Bars 4


Take your chocolate chips and spread them across the bottom layer.

White and Dark Chocolate Cream Cheese Chocolate Cake Bars 5

Your condensed milk should be smooth.

White and Dark Chocolate Cream Cheese Chocolate Cake Bars 6

Pour the condensed milk over the chocolate chips. You may need to spread the milk over the chocolate chips with a spatula.

White and Dark Chocolate Cream Cheese Chocolate Cake Bars 7


Bake for about 25 minutes. The middle of this won’t be set up. It’ll jiggle a bit. Try not to let the top layer get too brown. Let it cool. The more it cools, the more set up it will be. But I can tell ya, the very next day, this cake bar is still totally gooey.

Yum!

If you like the recipes and crafts on my blog, please make sure you like my page on Facebook.

Raspberry Hug, Pretzel and an M

Doing a twist on this recipe for Valentine’s Day.

Raspberry Hugs Pretzels and an M 6

Hershey’s released a raspberry hug for the holiday and I happen to love raspberry. This is such a simple recipe, and it lasts a while.

Raspberry Hugs Pretzels and an M 1

Ingredients: raspberry hugs, Valentine’s Day M&Ms and the Snaps Pretzels in the waffle pattern (or pretzel Os if you can find those)

Raspberry Hugs Pretzels and an M 2

Preheat the oven to 200 degrees. On a baking sheet, layout a bunch of pretzels.

Raspberry Hugs Pretzels and an M 3

Unwrap the hugs and place them on top of the pretzels. I think I had six hugs left from the bag and used the rest.

Raspberry Hugs Pretzels and an M 4

Stick the baking sheet into the oven. These seem to have a lower melting point than the peppermint and regular Kisses. So at 3 minutes, look at them. These were at 4 minutes and it’s almost too melted.

Raspberry Hugs Pretzels and an M 5

Quickly, put an M on each of the hugs/pretzels. Stick them in the fridge for a bit, so make sure they cool stay in their right form. Then enjoy!


Baked Mozzarella Sticks

Please tell me I’m not the only person who sees mozzarella sticks on a menu and considers eating a plate or basket full of them for their main meal. It’s pretty simple to make some of your own with the help of good ol’ string cheese.

Baked Mozzarella Sticks 8

I’ve used string cheese before to add cheese to a meal, like with the pizza crescent rolls. A nice melty cheese.

Baked Mozzarella Sticks 0

Start by chopping up a bunch of mozzarella sticks in half. Take the sticks and put them into the freezer. I left them in there for a few hours. This helps keep the cheese from becoming a big cheese puddle.

Baked Mozzarella Sticks 1

I took bread crumbs, parmesan cheese and a packet of Italian salad dressing mix and stirred it all together. I would play with this mixture until you find the right breading combo. This ended up a bit on the salty side. I’d probably cut the dressing mix and the cheese down and add more breading.

Baked Mozzarella Sticks 2

Set up your station. One bowl needs some flour. The second bowl needs at least one beaten egg, depending on how many mozzarella sticks you will be making, you may need one more. Third bowl is your breading. And then you need your baking sheet with aluminum foil.

Preheat your oven to 400 degrees before you pull the string cheese out of the freezer.

Baked Mozzarella Sticks 3

Coat the stick with flour.

Baked Mozzarella Sticks 4

Then coat it in the egg.

Baked Mozzarella Sticks 5

Then cover it with breading.

Baked Mozzarella Sticks 6

Lay all your sticks out on the baking sheet. My sticks were really frozen. So I ended up baking them for 10 minutes, then flipping them and baking them for another 4 minutes. But if yours aren’t that frozen, they may only need 10 minutess total. You’ll need to watch them.

Baked Mozzarella Sticks 7


There we go. Nicely browned mozzarella sticks! Not too melty. Serve with some marinara sauce.

Lazy Cake Cookies

I tried this recipe on a whim. My sweet tooth got the best of me one night. But I actually wasn’t sure if this would work. It seemed way too simple… but maybe that’s why it ended up working so well.

Lazy Cake Cookies 5

I really have to thank I’m a Lazy Mom for this great little recipe. I actually think it’s easier and faster than the Chocolate Chip Cookie in a Cup. Plus, there’s more than one cookie here.

Lazy Cake Cookies 1

Ingredients:
– one box of cake mix (I used a white cake)
– two beaten eggs
– 5 tablespoons butter, melted
– Chocolate chips (I used a 10 oz. bag of dark chocolate chips, but they are larger than semisweet)

That’s it. I have these ingredients in my pantry and fridge all the time!

Lazy Cake Cookies 2

Preheat your oven to 350 degrees. Mix together the beaten eggs, cake mix and melted butter.

Lazy Cake Cookies 3

Stir in the chips.

Lazy Cake Cookies 4

Grease a 9×13 pan and spread the batter out as best you can. My batter didn’t reach the edges, or spread that easily. I decided to just go with it. Put the pan into the oven and bake for 20 minutes.

Lazy Cake Cookies 6

Voila! Really simple and quick cookie bars. Takes half an hour total. How great is that?


Black Bean Brownies

I’ve been intrigued with that whole idea of hiding healthy veggies and other items within foods that you like. Pureed squash or carrots in mac and cheese and things like that. I read this article all about black beans. There was a recipe for brownies included. I had all the ingredients except for the black beans. A quick trip to the store and I have brownies from scratch.

Black Bean Brownies 7

I think the recipe needs just a slight tweaking or I need a new bottle of vegetable oil, since I could taste the oil in the baked brownies. After second thought (and more brownies) I just greased the corner of the baking dish too much and got an extra dose of vegetable oil. These were pretty chocolatey and had a rich, fudgey texture.

Black Bean Brownies 1

Ingredients:
3/4 cup black beans, drained and rinsed
1/2 cup vegetable oil
2 eggs
1/4 cup unsweetened cocoa powder
2/3 cup sugar
1 teaspoon vanilla extract
3/4 cup mini chocolate chips, divided
1/3 cup flour
1/2 teaspoon baking powder
1/2 teaspoon salt

You will also need a blender or food processor.

Black Bean Brownies 2

Preheat the oven to 350 degrees. Stick the black beans and the 1/2 cup of vegetable oil into the blender and puree. I had a hard time with this in the blender because there wasn’t enough liquid with the beans. I mashed them a bit with a spoon before moving on to the next step.

Black Bean Brownies 3

Add the eggs, cocoa, sugar and vanilla and then blend again. Melt half the chocolate chips and then add that to the mixture.

Black Bean Brownies 4

Put in the flour, salt and baking powder and pulse it a couple of times just to incorporate the dry ingredients.

Black Bean Brownies 5

The mixture should be a pudding texture.

Black Bean Brownies 6

Pour the brownie batter into an 8×8 pan that’s greased or sprayed with cooking spray. Sprinkle the rest of the chocolate chips on the top. Bake for 20 minutes. Check that the brownies are baked by sticking a knife into the middle and making sure it comes out clean.

Black Bean Brownies 8

Yum. If you like a moist, fudge brownie this is great. Plus it’s filled with fiber!

Have you tried putting black beans or any other sorts of pureed vegetables into your baked goods or other meals?

Inside BruCrew Life

Peanut Butter Cookie in a Cup

Next on Make That Pin week,  No. 2 Pencil’s Peanut Butter Cookie in a Cup. I’ve already made the Chocolate Chip Cookie in a Cup many times, so a peanut butter cookie sounded good.

Peanut Butter Cookie in a Cup 6

It really was good. Although I couldn’t wait for it to cool down, so I almost burned my mouth and windpipe on the tastiness.

Peanut Butter Cookie in a Cup 1

Start with a coffee mug. Put in a tablespoon of butter and a tablespoon of peanut butter. Stick that in the microwave for 30 seconds and stir.

Peanut Butter Cookie in a Cup 2

Next, stick in a tablespoon of sugar and brown sugar. Then a pinch of sugar and a little vanilla. Stir it all together.

Peanut Butter Cookie in a Cup 3

Then add in an egg yolk, none of the whites. Stir again.

Peanut Butter Cookie in a Cup 4

Finally, add three tablespoons of flour.

Peanut Butter Cookie in a Cup 5

This is what it should look like. It’s a pretty thick dough. Microwave it for 45 seconds. I did check it at 35 seconds, but it wasn’t ready. 45 was perfect.

Peanut Butter Cookie in a Cup 7

Look at how tasty that it! It’s a fluffy, single serving of peanut buttery goodness.

Head over to Crafting and Cooking on Facebook for more!

Mini muffin corn dogs

I can’t be the only person who loves going to a festival or county fair and eating a corn dog is on the list of things to do. I love when there’s a crunchy, golden brown exterior and then it’s a bit sweet. Yummy.

Mini corndog muffins 5

I saw a recipe like this awhile ago, but with homemade corn muffin mix. Ya, I had a box of Jiffy in my pantry that was waiting to be used. So, all you need is hot dogs and corn muffin mix, plus whatever the mix calls for.

Mini corndog muffins 1

Slice your hot dogs into small pieces, to be put into your mini muffins.

Mini corndog muffins 2

I oiled up the mini muffin tin (or silicone pan) and then used a tablespoon scooper to make everything equal portions.

Mini corndog muffins 3

Place your hotdog into the mix in the pans. Here’s where you need to make a decision. You can place them upright like in the photo or put them sideways. If you put them upright, there’s a chance the muffin will break along the hotdog. I would suggest not putting the hotdogs all the way to the bottom of the tin. Make sure there is some of the mixture at the bottom.

Mini corndog muffins 4

Bake according to the muffin mix instructions. The muffin will puff up around the hotdog.

Mini corndog muffins 6

Enjoy with your favorite dip! Ketchup is my dip of choice. Simple appetizer or snack.