Overnight oats

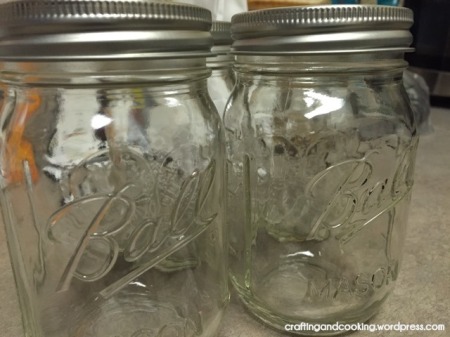
I always knew mason jars would somehow make their way into my home, but I thought that it would be for a project like paint-dipped mason jars or one of those layered salads. It never crossed my mind that it would be for oats.

Overnight Oats |  craftingandcooking.wordpress.com

Have you heard of overnight oats? Somehow, they’ve become supremely popular as of late. I see recipes all over Pinterest and Buzzfeed. So I went researching. Finding an actual definition of what overnight oats is is actually quite hard to find. Let me give my best explanation for you.

It’s cold oatmeal.

Ok, a little bit more on that. It’s oatmeal that you prep in a small container by adding a liquid to your oats and then sticking it in the fridge overnight. The oats start sucking up the liquid and it becomes soft. There’s still some texture, but it’s cold.  It also takes no time to set it up.

You can jazz up the oats with chia seeds, flavorings, nuts and fruit. I’m going to share the recipe I’ve perfected over the last couple of weeks: Peanut butter and honey overnight oats.

This recipe also travels well. I’m able to grab a mason jar out of my fridge each morning and eat it when I get to my desk. It’s filling and tasty.

Overnight Oats |  craftingandcooking.wordpress.com

All you need is old-fashioned oats, chia seeds, unsweetened vanilla almond milk, honey and powdered peanut butter. The powdered peanut butter is optional, but I like it.

Overnight Oats |  craftingandcooking.wordpress.com

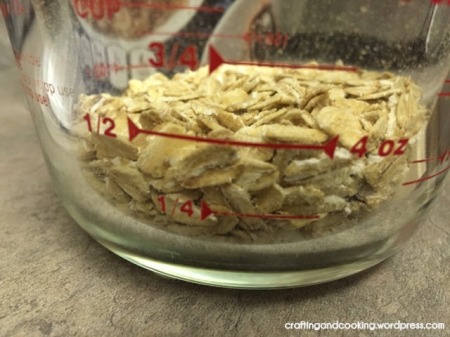
Start with half a cup of old-fashioned oats. I just use Quaker Oats and I have the really large container. Some recipes will call for steel cut oats, but those, true to their name, are definitely more crunchy. If you don’t like crunchy oatmeal, use the old-fashioned kind.

Overnight Oats |  craftingandcooking.wordpress.com

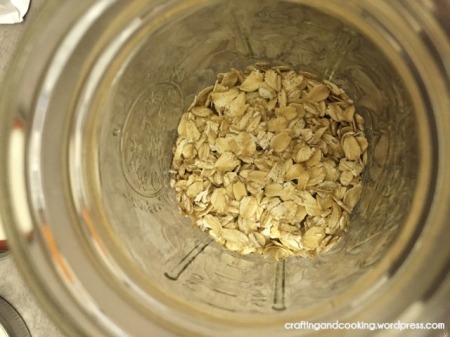
Take your oats and put them in the bottom of your mason jar.

Overnight Oats |  craftingandcooking.wordpress.com

Have you tried chia seeds before? Yep, they are the same seeds you put on your chia pet (or chia person) when you were younger. I never had one, but I know the ch-ch-ch-chia commercial pretty well.

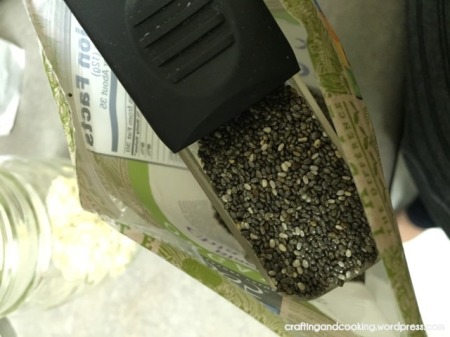
I bought a15 oz. bag of chia seeds from Whole Foods, the 365 brand. It was cheaper to buy them this way versus the bulk section, which I thought was a bit odd.

Overnight Oats |  craftingandcooking.wordpress.com

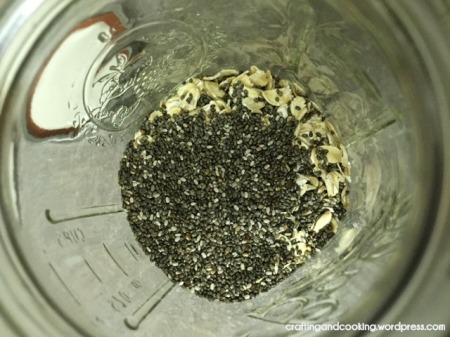
Put 1 tablespoon of chia seeds into the mason jar on top of the oats. I like how the chia seeds taste after they’ve sat overnight. They tend to puff up and I try popping them between my teeth.

Also, just a little bit of advice, make sure you do a mirror check after eating the oats just in case you have a rogue chia seed sitting in between your teeth. It happens.

Overnight Oats |  craftingandcooking.wordpress.com

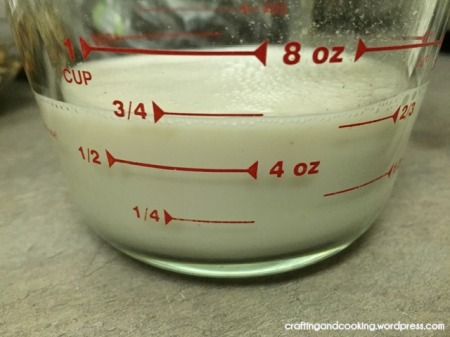
Then measure out 3/4 cup of the unsweetened vanilla almond milk. I go with unsweetened because you will be adding a sweetener and the sweetened version of vanilla almond milk can be very sugary.

Overnight Oats |  craftingandcooking.wordpress.com

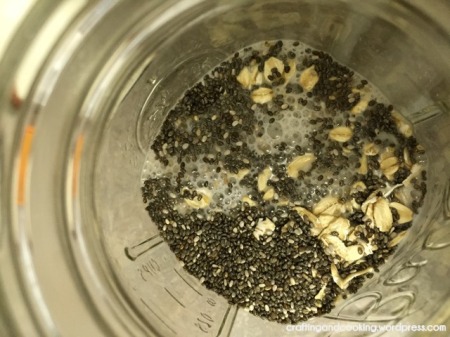
Into the mason jar it goes!

Overnight Oats |  craftingandcooking.wordpress.com

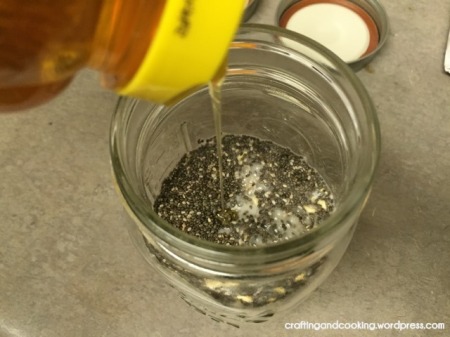
I drizzle in about a teaspoon of honey.

Overnight Oats |  craftingandcooking.wordpress.com

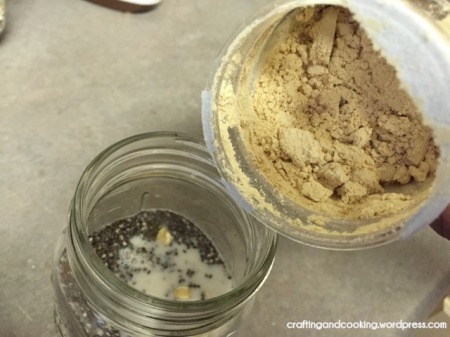
Here’s the powdered peanut butter. I had never used it before, but it seemed a lot easier to use than trying to get regular peanut butter in the mix. This is just the PB2 brand which seems to be sold at most stores now-a-days.

Overnight Oats |  craftingandcooking.wordpress.com

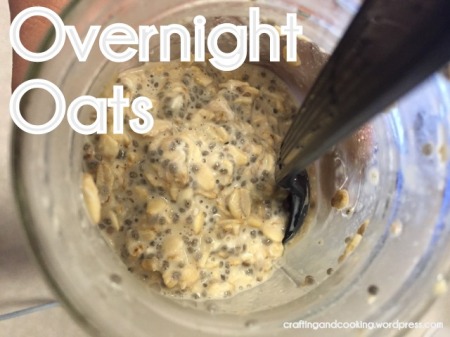
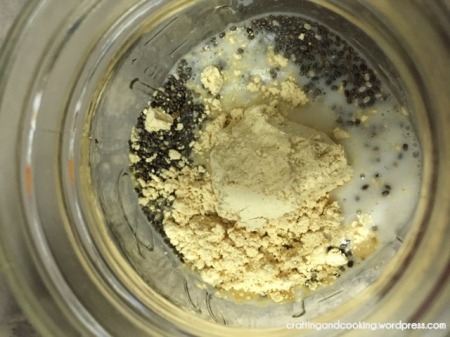
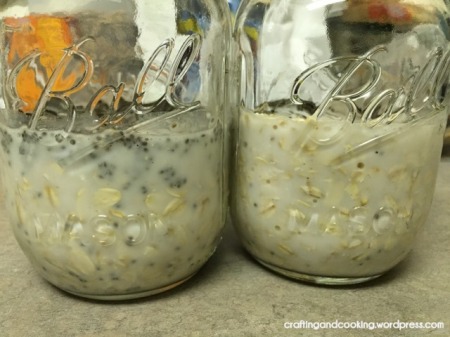
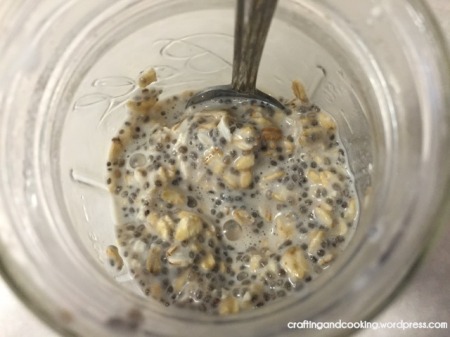
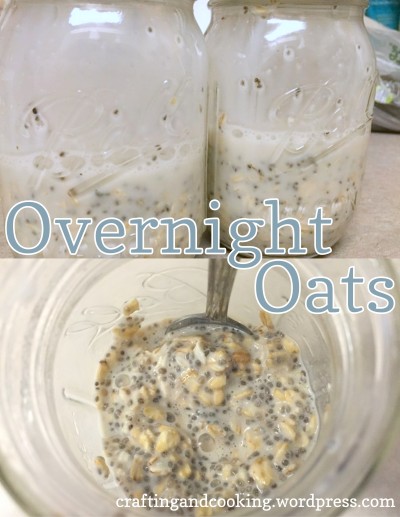
I eyeball the measurement here, but 1-2 tablespoons seems like a good amount. The peanut butter powder also seems to make the whole dish creamier. The photo at the top of this post has the peanut butter powder, while the bottom photo does not. See if you can tell the difference.

Overnight Oats |  craftingandcooking.wordpress.com

So at this point, it fills the mason jar halfway. Put the cap on and then shake it up! Shake it really good too.

Overnight Oats |  craftingandcooking.wordpress.com

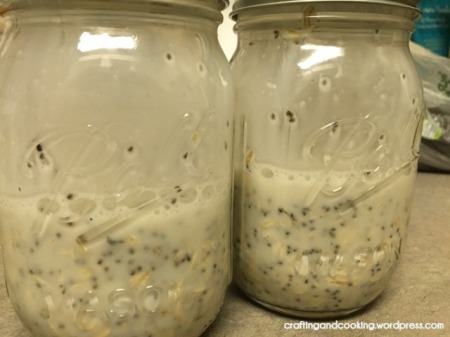
All combined! It’s important that you shake it really well because the honey needs to be incorporated. Sometimes it can pool so you get some spoonfuls with a bunch of honey and some without.

Stick your mason jar into the fridge overnight. I make a batch and it lasts for a couple of days.

Overnight Oats |  craftingandcooking.wordpress.com

There you go. Overnight oats. Great for breakfast. Now, you can just stop right here and eat these as is, but I sometimes add frozen bananas. Yours don’t need to be frozen, but that’s what I have on hand.

I’ve also done a version that uses Nutella. I didn’t add the peanut butter powder before I stuck the mason jar in the fridge overnight. The next morning, I stirred in a tablespoon of Nutella . Then I added frozen mixed berries. Pretty good. Although it took a lot of stirring to incorporate the Nutella into the oats.

So the possibilities are endless! I’m still experimenting with overnight oats, but I’m pretty happy with the peanut butter and honey version.

Overnight Oats recipe from Crafting and Cooking

Peanut butter and honey overnight oats
1 serving

1/2 cup old-fashioned oats
1 tablespoon chia seeds
3/4 cup unsweetened vanilla almond milk
1 teaspoon honey
1 to 2 tablespoons of peanut butter powder (optional)

Put all ingredients into a mason jar and cover with lid. Shake furiously to incorporate ingredients. Store covered in refrigerator overnight.

To eat: Uncover and stir ingredients. Add toppings such as fruit or nuts.
Instagrams of things I ate and drank recently

It’s been noted that I take a lot of photos of my food. Well, it’s true and I don’t apologize for it. You first eat with your eyes. And I love when food just looks amazing and it must be shared. So here are a few things I ate recently:

View this post on Instagram

Bloody snowman in my hot chocolate. Hahaha #yum

A post shared by Heather (@heatherlesz) on

View this post on Instagram

#Christmas jello shots.
A post shared by Heather (@heatherlesz) on

View this post on Instagram

Snowballs ready! #yum #cookies #Christmas

A post shared by Heather (@heatherlesz) on

Beef Stew

There are times when you just want a big bowl of beef stew. I recently discovered Pioneer Woman’s Sunday Night Stew. Delicious. I actually did make this on a Sunday. But I had to adapt it to my tastes. If you like turnips and onions, check out the original recipe! I go with carrots and green beans for my version.
Beef Stew  |  craftingandcooking.wordpress.com


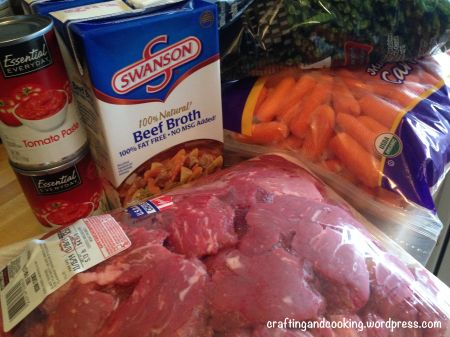
I think the broth is truly what makes this recipe great. The mixture of beef stock (which I’d never used before), tomato paste and Worcestershire make it so delectable.

Beef Stew  |  craftingandcooking.wordpress.com

I actually made a double batch of this last time which is when I took the photo. It took two stock pots.

Ingredients:
1.5-2 lbs. of stew meat
32 oz. or 4 cups of beef broth, I would say have 1-2 cups extra depending on how thick or thin you like a stew
Olive oil
1 tablespoon of butter
A couple tablespoons of minced garlic
4-6 oz of tomato paste (usually the cans have 6 oz. so you don’t want to waste)
Onion powder
Worcestershire, probably 2 tablespoons or more. It’s to taste.
1/2 teaspoon of sugar
Salt and pepper
Carrots
Green Beans

Beef Stew  |  craftingandcooking.wordpress.com

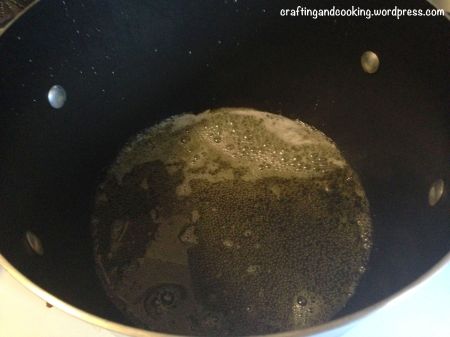
Start by heating about 3 tablespoons of olive oil in a pot with the tablespoon of butter. Let the butter melt.

Beef Stew  |  craftingandcooking.wordpress.com

Season up the beef with salt and pepper before sticking them in the pot.

Beef Stew  |  craftingandcooking.wordpress.com


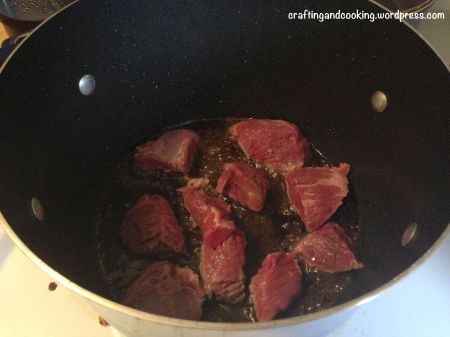
Do one layer of beef in the pot at a time. Give each piece of meat its own space.

Beef Stew  |  craftingandcooking.wordpress.com

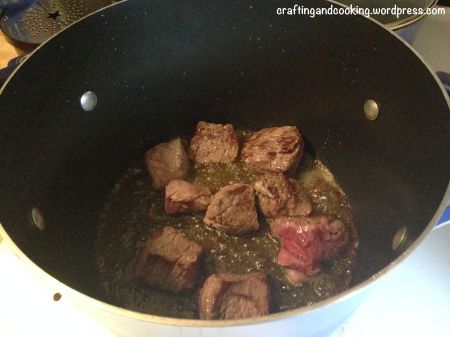
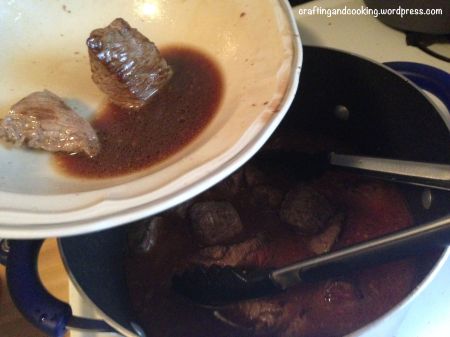
Brown the meat on all sides then pull it from the pot and put in a container off to the side. Do this with all the meat.

Beef Stew  |  craftingandcooking.wordpress.com


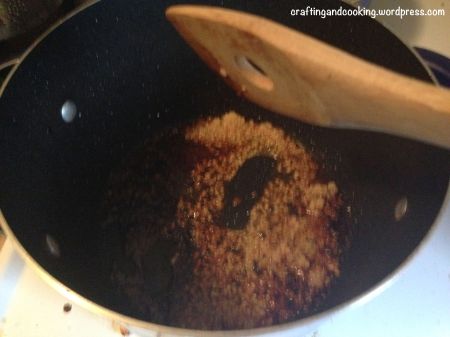
Add the garlic to the pan and brown slightly. Don’t let it burn.

Beef Stew  |  craftingandcooking.wordpress.com

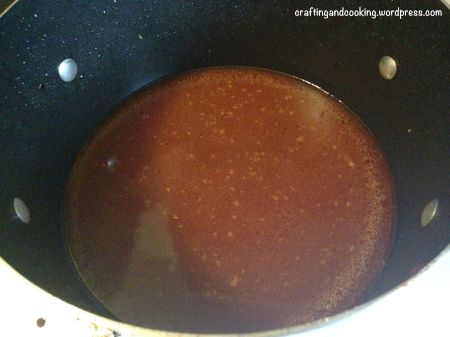
Add in the beef broth and the tomato paste. Stir so the tomato paste melts into the sauce.

Beef Stew  |  craftingandcooking.wordpress.com

Add the meat, plus the drippings back into the pot.

Beef Stew  |  craftingandcooking.wordpress.com

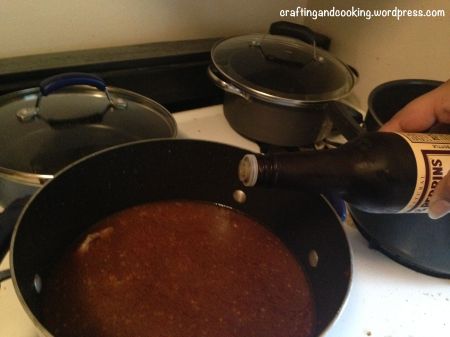
Time for the Worcestershire. Again, the Worcestershire is to taste. I like a lot. Also, season with the salt, pepper, onion powder and add the sugar.

Bring the pot to a boil and then lower the heat. Let it stew for roughly an hour and a half with a lid. A lid is important.

Beef Stew  |  craftingandcooking.wordpress.com

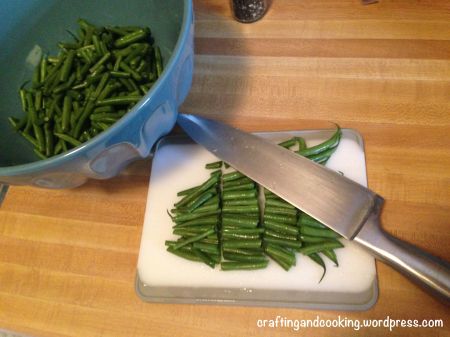
In that time, prep your green beans and your carrots.

Beef Stew  |  craftingandcooking.wordpress.com

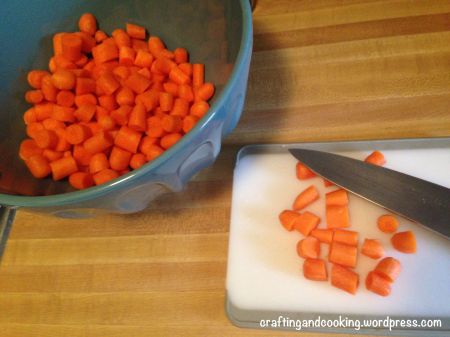
I actually use baby carrots for pretty much all my recipes. Why? They’re all roughly the same shape and size. So then you can cut them easily into smaller pieces. You also don’t have to peel baby carrots, so less time handling them.

Ok, so your hour and a half is up.

Beef Stew  |  craftingandcooking.wordpress.com

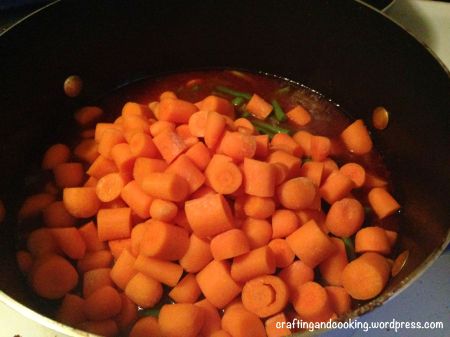
Add your carrots and green beans to the pot and stir. At this point, decide if there is enough broth in there for you. If it’s too thick, add more beef broth or even water.

Stew for at least another 30-40 minutes with the lid back on. You can test how soft the carrots are to see if the stew is done or not.

Beef Stew  |  craftingandcooking.wordpress.com

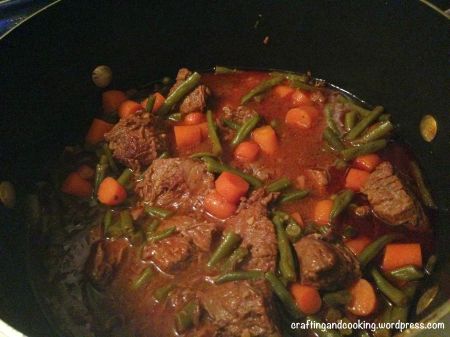
And there you have it! A beautiful stew with tender meat and it just fills you up. You can eat this by itself or it tastes good with mashed potatoes or rice. Yum! It freezes pretty good too. Either in tuperware or freezer bags.

The Best Chocolate Chip Cookies

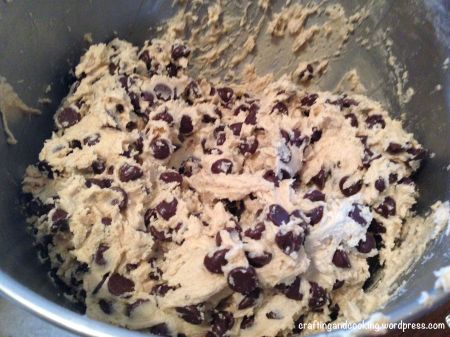
I don’t believe I’m over stating it when I say these are the best chocolate chip cookies ever.

I affectionately call these “Tessa’s cookies” because the recipe comes from a former coworker named Tessa. She brought these to a work potluck once and then she was required to bring them to every following potluck. And then she gave me the recipe and I’m hooked.

They are the perfect mix of salty and sweet, jam-packed with chocolate chips. Plus they are firm around the edges and then soft and gooey in the middle. What more could you ask for from a chocolate chip cookie?

The Best Chocolate Chip Cookies | Craftingandcooking.wordpress.com

I’m not even going to give you the ingredient list for a single batch. No. I’m just going to double it outright. This makes a little more than 4 dozen cookies.

Ingredients:
2/3 cup butter, softened
2/3 cup shortening (Crisco sticks)
1 cup packed brown sugar
1 cup granulated sugar
2 teaspoons vanilla
2 eggs
3 cups flour
2 teaspoons baking soda
2 scant teaspoons salt
A little over 4 cups of chocolate chips
Coarse Kosher salt

The Best Chocolate Chip Cookies | Craftingandcooking.wordpress.com

Waiting for the butter to soften is the hardest part of this recipe. I usually cut it into smaller pieces and let it sit on my counter for awhile.

The Best Chocolate Chip Cookies | Craftingandcooking.wordpress.com

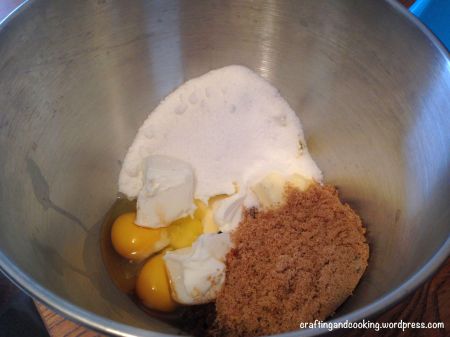
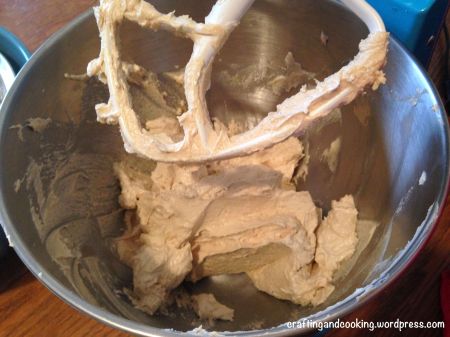
Preheat oven to 350 degrees. While the oven is warming up, cream together the butter, shortening, sugars, vanilla and egg until fluffy.

The Best Chocolate Chip Cookies | Craftingandcooking.wordpress.com

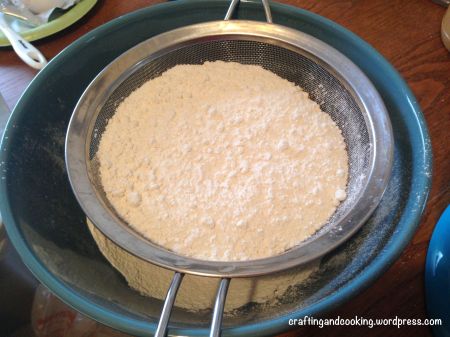
Sift together the flour, baking soda and salt (not the course salt).

The Best Chocolate Chip Cookies | Craftingandcooking.wordpress.com

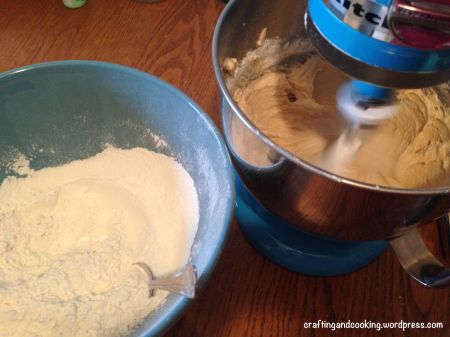
Add sifted dry ingredients and mix until combined. I do them in shifts. A couple spoonfuls at a time.

The Best Chocolate Chip Cookies | Craftingandcooking.wordpress.com


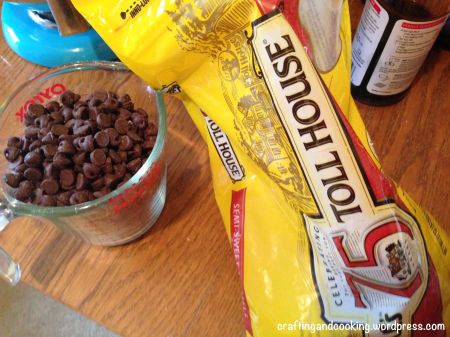
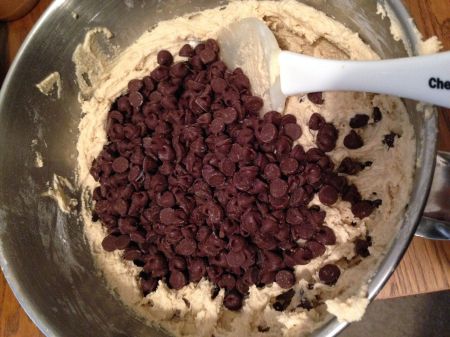
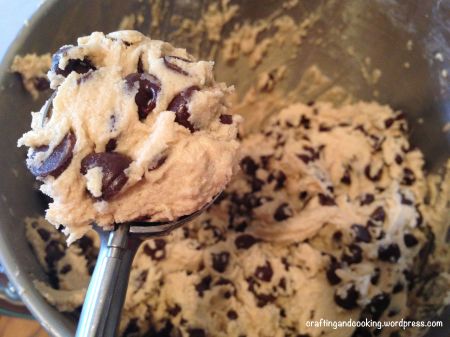
Then you are going to need to fold in the chocolate chips. Do this by hand with a spatula and not with your mixer.

The Best Chocolate Chip Cookies | Craftingandcooking.wordpress.com

I bought the industrial sized back of chocolate chips from Costco. It was worth it.

The Best Chocolate Chip Cookies | Craftingandcooking.wordpress.com

Spread the chocolate chips throughout the mixture until all combine.

The Best Chocolate Chip Cookies | Craftingandcooking.wordpress.com

I use a tablespoon scoop so all the cookies are roughly the same shape and size.

The Best Chocolate Chip Cookies | Craftingandcooking.wordpress.com

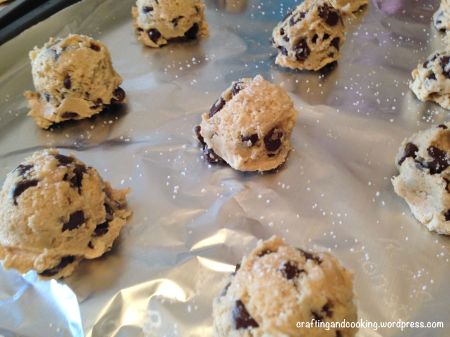
Drop onto a greased sheet or nonstick foil. Do them all at once. I end up with four pans worth. You aren’t going to remove the cookies from the pans until they set up.

The Best Chocolate Chip Cookies | Craftingandcooking.wordpress.com

Sprinkle with the coarse salt. Then bake for 6-10 minutes. I’ve found the perfect time for me is 8 minutes.

The Best Chocolate Chip Cookies | Craftingandcooking.wordpress.com

Leave the cookies on the pan until they cool down! They set up on the pan and become firm yet soft.

Creamed Corn

Have you been to Texas? I went to Texas for the first time a couple years ago and I was introduced to Rudy’s Country Store and BBQ. I don’t really go there for the BBQ though. No. Every time I’ve been back, I go for the creamed corn:

The creamed corn is an absolute must. To my dismay, there are no Rudy’s locations up north. So I’ve been trying to find the best substitute. And I did find a great copy cat recipe. It’s not the perfect replica, but it’s still quite tasty.

Creamed corn

Consider adding this to your Thanksgiving meal this week, or just have it for a weeknight dinner. It’s quick and simple.

Creamed corn

Ingredients:
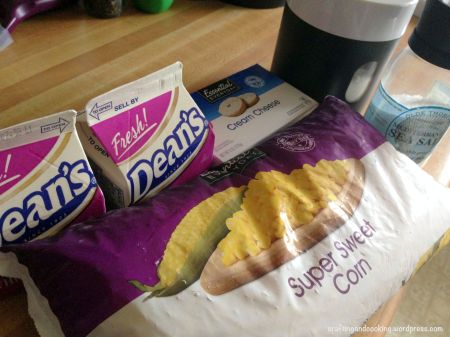
1 pint heavy whipping cream
4 oz. cream cheese
16 oz. frozen corn plus a little bit more.
2-3 teaspoons sugar
1 teaspoon salt
Black pepper

Creamed corn


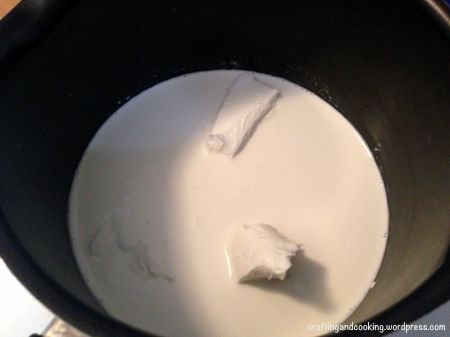
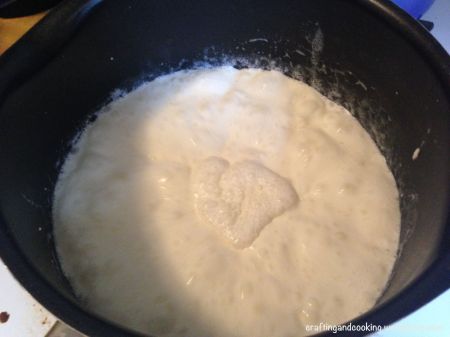
Put the pint of heavy whipping cream in a pot with the 4 oz. of cream cheese. I cut the cream cheese up a bit smaller. You’ll be melting it over medium heat until it melts. A whisk is best used to stir it as well.

Creamed corn


Let it boil for a little bit just to make sure the cream cheese is melted and it’s heated through.

Creamed corn


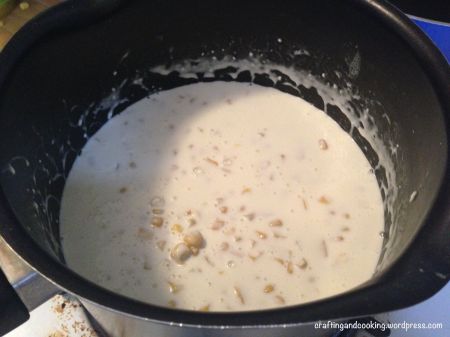
Add the corn, salt and sugar. And make sure the corn gets heated through. If it looks like there’s too much sauce/gravy, try adding more corn. Mine turned out a bit more soupy, but it was still good.

Creamed corn


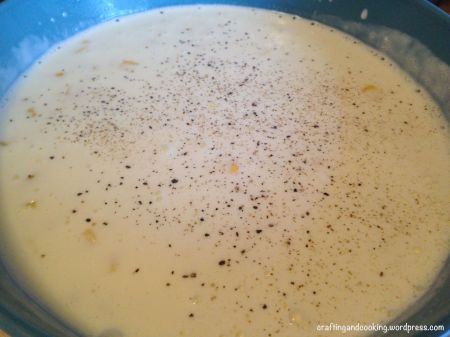
Pour into your container to serve and sprinkle on the black pepper.

Creamed corn


Ready to eat!

Also, if you do find yourself at a Rudy’s, I love the brisket. And you need a buy a bottle of their Sissy Sause. I actually just ran out of the bottle I bought a few months ago. Tastes yummy on chicken.

Butternut Squash and Apple Soup

I know, it’s been forever! I’m getting back into the blogging mood, although the cooking mood seems to escape me at the moment. But I’ve still been documenting new dishes.

Last winter, I lived off a soup from Au Bon Pain during lunch. It was a Butternut Squash and Apple soup. Sweeter than most butternut squash soups I’ve had in the past. I was trying to find a similar recipe or even a knock-off and was failing with Google searches and Pinterest searches.

Then it hit me, I had tried a recipe a few years back at a library event. I had to tear through my apartment trying to find the piece of paper the recipe was on. One day, looked under one of my living room side tables and found gold!

Butternut squash and apple soup  |  craftingandcooking.wordpress.com

This is a sweet, but not too sweet recipe for butternut squash and apple soup. It freezes really well (directions at the bottom).

Butternut Squash and Apple Soup | craftingandcooking.wordpress.com

Ingredients:
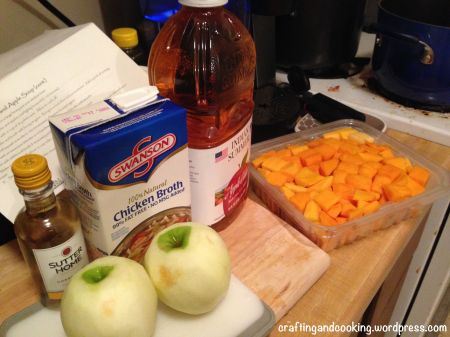
– 1 1/2 to 2 1/2 pounds of butternut squash peeled and cubed
– 2 Granny Smith apples, peeled and chopped into little cubes
– Onion powder (or 1 med. shallot)
– 2 tbsp olive oil
– 2 tbsp unsalted butter
– 1/2 cup dry white wine
– 4 cups low-sodium chicken broth (more if necessary)
– 1 cup apple cider
– Little bit of nutmeg

You will need one large stock pot and I use an immersion blender to puree everything.

I don’t drink wine, so one of the best tips I have for you is get the mini-bottles of wine. Then you only need to open a small bottle vs. a really large one. Less waste.

I also have a Costco membership. I’m sort of addicted to shopping there now. But butternut squash has been one of the best deals I’ve found there. Less than $5 for about 2 lbs. of butternut squash already peeled and cubed.

Butternut Squash and Apple Soup | craftingandcooking.wordpress.com

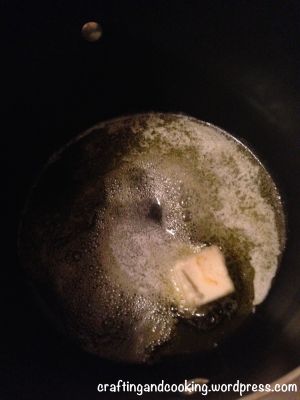
Start by putting the olive oil and butter into the stock pot. Melt it over medium heat.

Butternut Squash and Apple Soup | craftingandcooking.wordpress.com

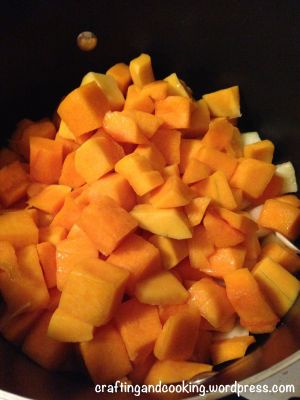
Put all the butternut squash and apple into the pot and brown it. If you’re using the shallot put it in as well. Otherwise season with the onion powder.

After browning the butternut squash and the apple, deglaze the pan with the white wine and cook off the alcohol.

Butternut Squash and Apple Soup | craftingandcooking.wordpress.com

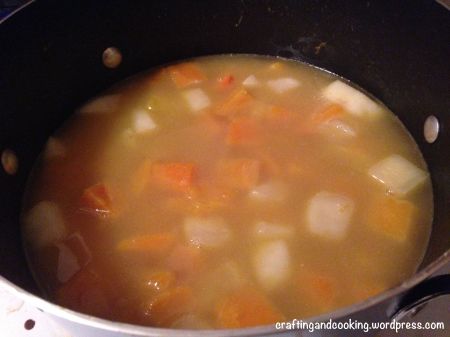
Once the wine is cooked off, add the apple cider and the chicken broth. Bring it to a boil and then simmer. Add the pinch of nutmeg at this time.

Butternut Squash and Apple Soup | craftingandcooking.wordpress.com

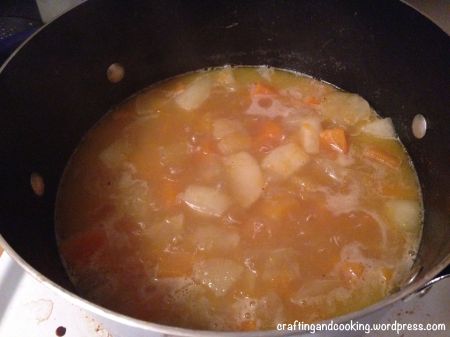
Simmer for about 30-40 min. You can see in the photo, the apple and butternut squash are looking a bit mushy which is what you want. They need to be soft.

Butternut Squash and Apple Soup | craftingandcooking.wordpress.com

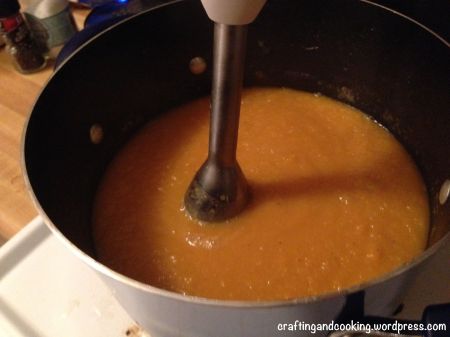
Puree! Make sure it’s nice and smooth and there are no chunks of squash hanging around. At this time, you can also add more chicken broth if you want to thin it out a bit more. You can also add pepper if you want as well.

Butternut Squash and Apple Soup | craftingandcooking.wordpress.com

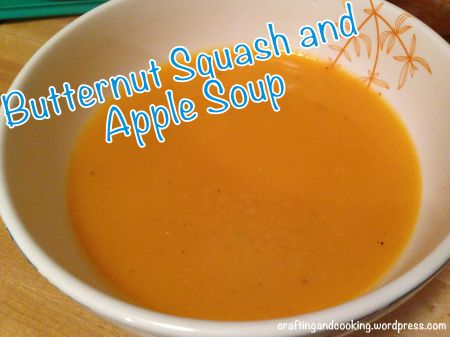
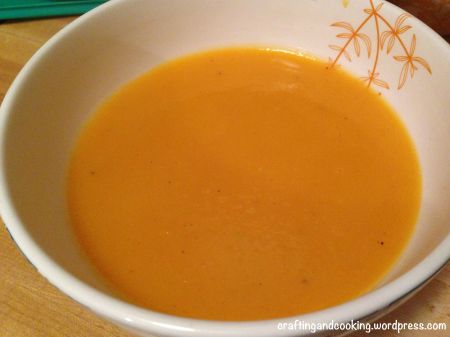
There you go! Delicious and pretty healthy butternut squash and apple soup.

Now if you’d like to freeze this, let the soup cool down. You can then stick it in quart freezer bags and freeze. I do suggest for the first few hours it’s freezing, you stick it on top of a baking sheet and lay it flat. You can also use small tuperware to freeze it. Works really well.

Bacon-wrapped sweet and spicy chicken

Bacon. I wanted some. I wrote about a Baconfest recently and I have just been thinking about eating some bacon. So I decided to incorporate it into dinner. Plus, lucky me, I found an awesome deal on bacon.

Bacon-wrapped sweet and spicy chicken 1

This had a bit of kick to it, more than I expected. It smelled amazing (until the brown sugar started burning, but that’s besides the point).

Bacon-wrapped sweet and spicy chicken 6

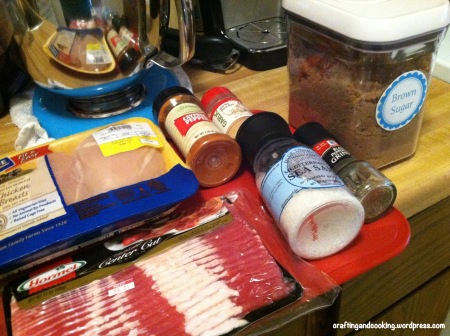
Ingredients:
– At least three chicken breasts
– 1 lb. of bacon
– Salt, pepper, garlic powder, brown sugar
– Cayenne pepper or chili pepper

Bacon-wrapped sweet and spicy chicken 5

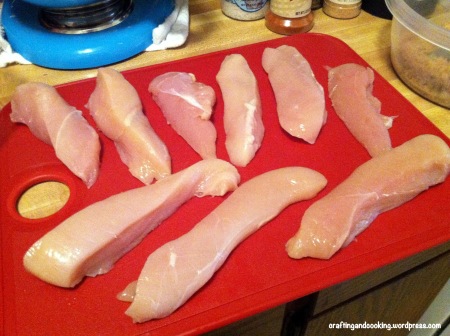
Preheat the oven to 400 degrees. Clean the chicken, then portion it out into two or three pieces per breast.

Bacon-wrapped sweet and spicy chicken 4

Season both sides of the chicken with salt, pepper and garlic powder. You can do the same with the cayenne pepper or chili powder. I used cayenne, but it ended up being a bit more spicy than I wanted. Take into account who will be eating it.

Bacon-wrapped sweet and spicy chicken 7

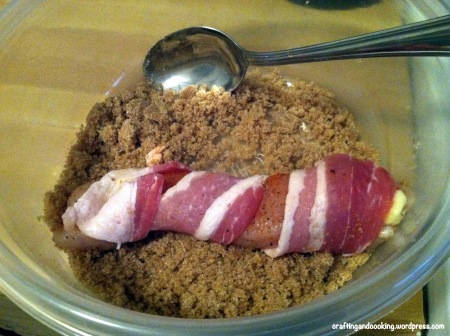
Wrap each piece of chicken with one slice of bacon.

Bacon-wrapped sweet and spicy chicken 3

Take each piece of bacon-wrapped chicken and roll it in the brown sugar.

Bacon-wrapped sweet and spicy chicken 2


Stick the chicken in the oven for 30-40 minutes. At 35 in my oven, the extra brown sugar on the pan starting to brown too much. So make sure to check it when it’s getting close.

Bacon-wrapped sweet and spicy chicken 8

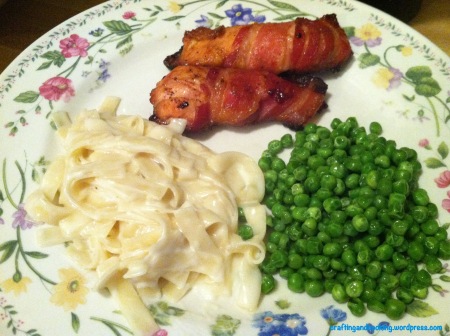
Yum! Peas and alfredo pasta on the side.


Rolo-stuffed sugar cookies

I’ve wanted to try stuffing cookie dough with something else for awhile now. A trip to the grocery store this weekend provided an excuse to try. The tube of cookie dough was 50 percent off.

rolo-stuffed sugar cookies 1

I’m sold on the awesomeness. Look at that! Yum.

rolo-stuffed sugar cookies 7

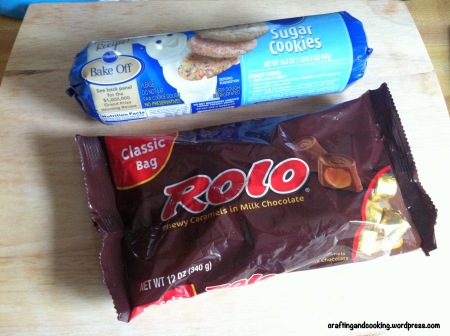
Two ingredients: sugar cookie dough and Rolos.

rolo-stuffed sugar cookies 8

I unwrapped two dozen candies (photo taken before I was done in case you count the number in the bowl).

rolo-stuffed sugar cookies 6

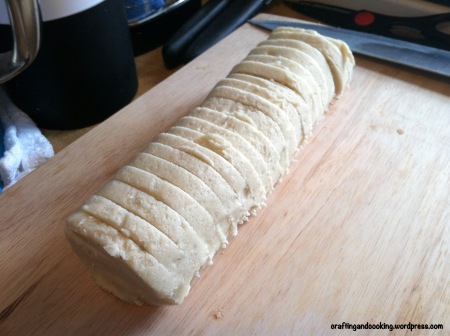
Slice your dough into even pieces. About half an inch thick is good. Preheat your oven to 350 degrees.

rolo-stuffed sugar cookies 5

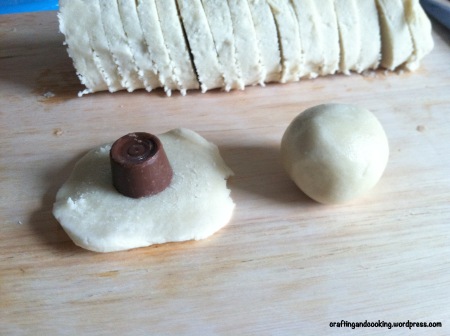
Take one slice of cookie dough and one candy. Roll up the Rolo in the sugar cookie dough.

rolo-stuffed sugar cookies 4

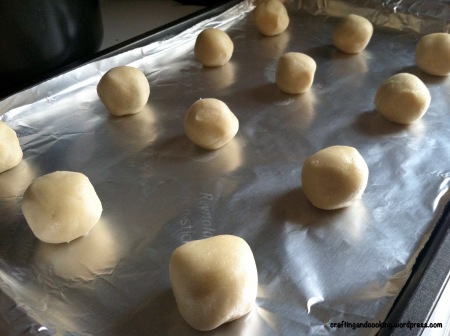
Space out the cookies on a large baking sheet. Stick it in the oven for about 11 minutes.

rolo-stuffed sugar cookies 3

After cooking time is done, let the cookies sit until they are pretty cool on the baking sheet. Don’t try to move them or they will smush or break.

rolo-stuffed sugar cookies 2
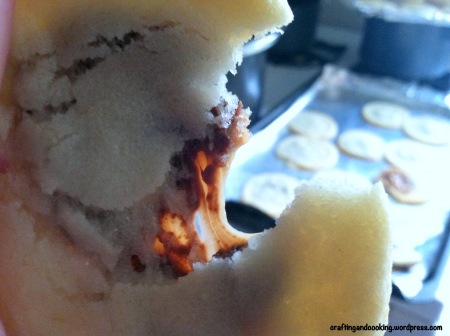
Look at how gooey that is! So good.


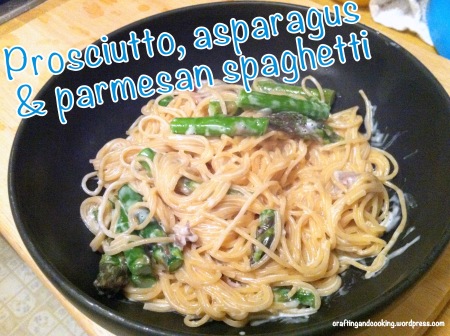
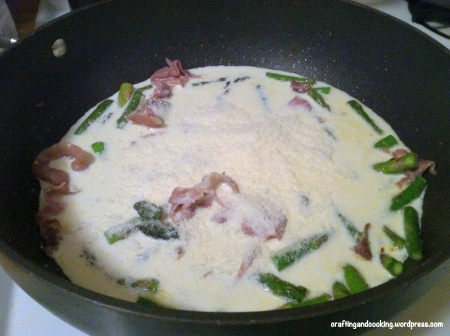
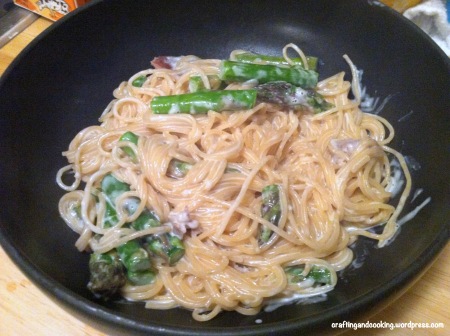
Prosciutto, asparagus and parmesan spaghetti

This was one of the first recipes I tried off of Pinterest. It has become a huge hit and I rarely have leftovers when I make it for people. But it has also become a sort of treat, since prosciutto is a bit more expensive. It is worth it though.

Prosciutto, Asparagus and Parmesan Spaghetti 6

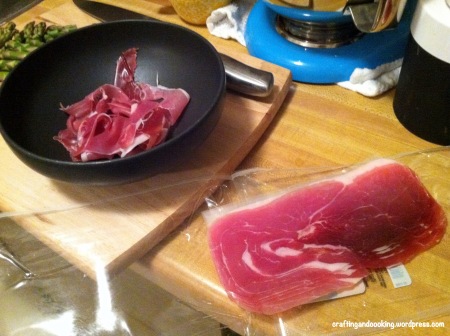
Although, I do end up munching on the prosciutto while I’m waiting to cook it. 🙂

The recipe is from ValSoCal. I did make a few changes from the original recipe. I’ve also been a little more free-wheeling with the ingredients since I usually end up with just slightly over what the original recipe calls for. My changes are in the parentheses.

Prosciutto, asparagus and parmesan spaghetti
adapted from ValSoCal
– 8 oz. angel hair pasta or spaghetti
– 1 and 1/4 cup heavy cream (or one pint)
– 4 oz. of prosciutto (or 6 oz. in a package)
– 1 lb. asparagus (I just grabbed a rubber-banded bunch from the store)
– 1/3 cup of parmesan cheese (I just used a couple handfuls)
– 1/2 teaspoon red pepper flakes
– salt and pepper
– garlic powder

Prosciutto, Asparagus and Parmesan Spaghetti 1

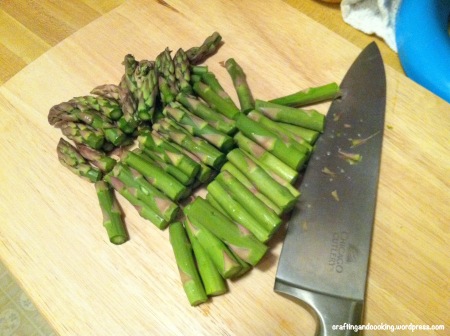
Start by boiling up your pasta according to the package directions. Chop of your asparagus. I usually chop into threes.

Prosciutto, Asparagus and Parmesan Spaghetti 2

Take your prosciutto and shred it into pieces.

Prosciutto, Asparagus and Parmesan Spaghetti 3

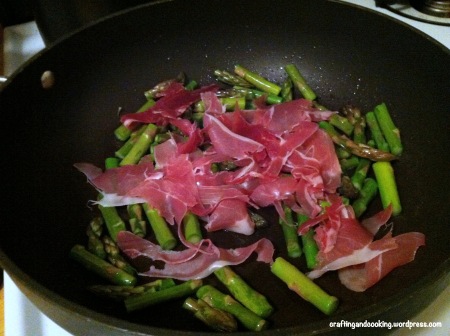
In a pan, use some olive oil and fry up the asparagus and prosciutto. It only takes a couple minutes. You still want the asparagus to be a little crunchy and bright green.

Prosciutto, Asparagus and Parmesan Spaghetti 4

Pour in your heavy cream, the cheese and then season with the salt, pepper and red pepper flakes. Stir and let the sauce thicken. It should only take about 4-5 minutes. Put your pasta into the pan and stir.

Prosciutto, Asparagus and Parmesan Spaghetti 5

Serve it up in a bowl. You could top with more parmesan or even some crispy bits of prosciutto. This is so good. It is better to eat it all the first night. It’s not as creamy if microwaved. I think I’d want to add in some peas or some spinach.


Jewelry organizer

Hey all, sorry I’ve been absent as of late. Life has gotten a bit hectic.

I have been working on a couple of crafts. Remember that cake, cookie/treat stand I made? Well, I decided to use that idea to clear off my dresser:

Jewelry organizer Craftingandcooking.wordpress.com

For the full directions, check out my Homespun column. But it’s so simple and it’s been keeping everything accessory-wise in order. Love it!

As for food, I’ve been heading back to some new staples, particularly Crockpot Buffalo Chicken and Marinara, Alfredo pasta bake.